The ultimate guide to assembling a DIY 3D printer

A 3D printer is a machine that is used to convert 3D designs into real objects. The 3D designs are made using a computer and then fed to the 3D printer in a language that it can understand before printing. The real objects are made either using liquid plastic or other components other than ink. Once the object is made, it is left to dry so that it can assume a solid-state. 3D printers come in a variety of types, like the Ender 3 3D Printer. Other types of 3D printers include powder, resin, and extrusion printers, just to name a few. In this post, we discuss DIY 3D printers.
What are DIY 3D printers?
A DIY 3D printer is a machine that comes in pieces that have to be put together. You can also choose to build a homemade 3D printer for a science congress or a contest of any other kind. Below are some steps that will guide you in the process of building a DIY printer.
Putting together a DIY printer
- The first step would be to acquire the necessary parts. Some companies provide a variety of parts needed in the construction of 3D printers. Amazon also sells a variety of 3D printer kits that may work perfectly in this case. You need an extruder, a hot end, a power supply, and PLA filament, just to name a few parts. You may also need the stationary materials to put the parts together; such equipment includes a screwdriver. Once you have all the necessary parts, you need to understand each part, its purpose, and where it goes. - The next step would be to read the instructions for putting the machine together. Companies like Creality provide their clients with a kit as well as the instructions. You can also opt for a video tutorial as it provides a better guide. - You can now start constructing the device with the axis. A 3D printer has three Axis (x, Y, and Z-axis which are used to control the movement of the nozzle left and right, the bed, and up and down movements of the nozzle, respectively.
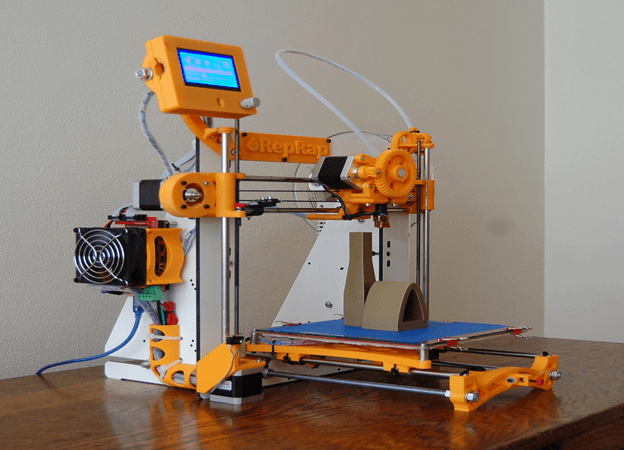
- Once the axis is constructed, you can proceed to make the bed of the printer. Make sure that the bed is level because it may cause your objects to come out inaccurate during printing. - You can now proceed to make the extruder, fixing the hot end and inserting the PLA filament. - Once you have the machine fully constructed, you can proceed to wire the machine and get the most suitable software for the DIY 3D printer.
Bottom Line
Make sure to clearly follow the instructions when making, fixing or inserting each part on each step. Failure to follow the instructions to the latter may lead to irregularities when it comes to printing objects on the machine. Wiring the machine is one of the most challenging bits of making a DIY 3D printer. If you cannot hack the process, make sure to hire professional help. You can always go for a fully made 3D printer if you find DIY tiresome and challenging.