Expert Tips For Making A Custom Sticker
Stickers are used for several purposes, and their popularity has increased significantly in recent years. However, how these stickers are made has always been a mystery to most people. This is because many users often just order already made stickers from suppliers online or retailers offline. Many custom sticker manufacturers today operate sticker wholesale and supply, and you can get quality stickers from them. But there is no denying the fact that you can create a more personalized sticker yourself if you are acquainted with the processes involved.
Successfully making a custom sticker requires that you follow specific steps to ensure a perfect finish, and the steps involved may prove to be tricky for newbies and custom sticker users who are new to the concept of DIY stickers. Do you want to learn the processes involved in making custom stickers? This article contains expert step-by-step instructions on how to make a custom sticker. However, you must first understand what a custom sticker is and the various custom sticker options available.
Customized Stickers
Custom stickers are stickers that are made to fit specific details. They are sometimes referred to as Personalized stickers because they carry personalized shapes, sizes, and designs. These stickers can be made with similar materials as regular stickers, but they may require superior quality. Many materials are used for making customized stickers, but the most used include paper, vinyl, and plastic materials. Some customized stickers can also be used as product labels, but these stickers are more processed to last longer on the products. They are sometimes referred to as regular labels because they have a much firmer grip on products.
Making A Custom Sticker
The glue sticker is the most popular type of sticker, and the steps to making it are pretty straightforward. Here are expert tips for making a custom sticker.
- **Get your materials ready:**Like every other task, the first step to making a DIY custom sticker is to get the necessary materials ready. Make sure you select only clean and suitable quality materials for your sticker.
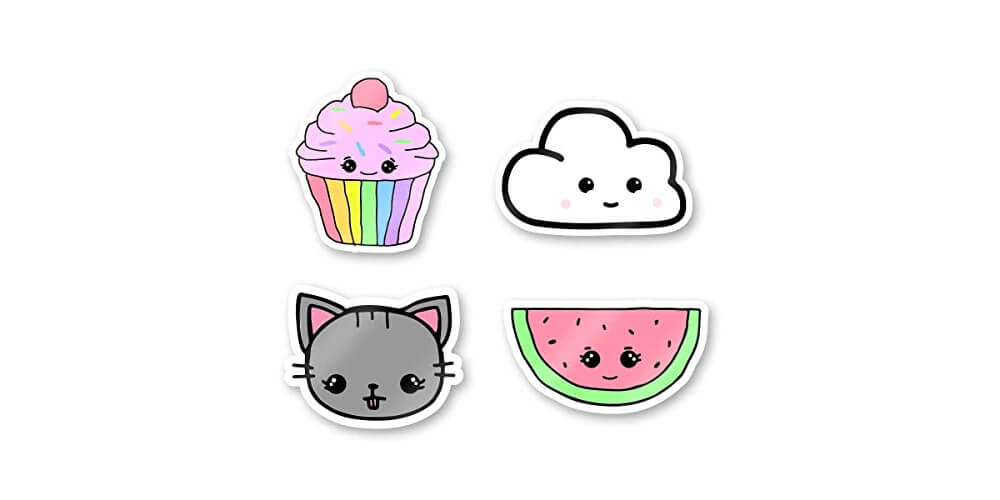
- **Design your sticker: **The next step is to design a befitting display for your sticker. You are free to explore different ideas, but make sure your design is clean and tidy enough.
- **Cut out your sticker:**After you have designed a sticker display of your choice, cut out the design using a cutting tool that you find most comfortable. Ensure that you get clean, straight cuts.
- **Add glue to the sticker:**Adhesive is your best bet for sticker glue, and you can add it to your sticker after you have finished preparing the display. Apply the glue to the other plain side of the sticker, and cover it to avoid being damaged by air.
- **Apply your sticker: **You have finished making your sticker, and it is now ready for use. Apply your sticker to a dry surface and enjoy the excellent view.
Conclusion
Custom stickers include several personal modifications that make them unique. Knowing how to make and customize stickers gives you the freedom to experiment with different custom sticker designs.